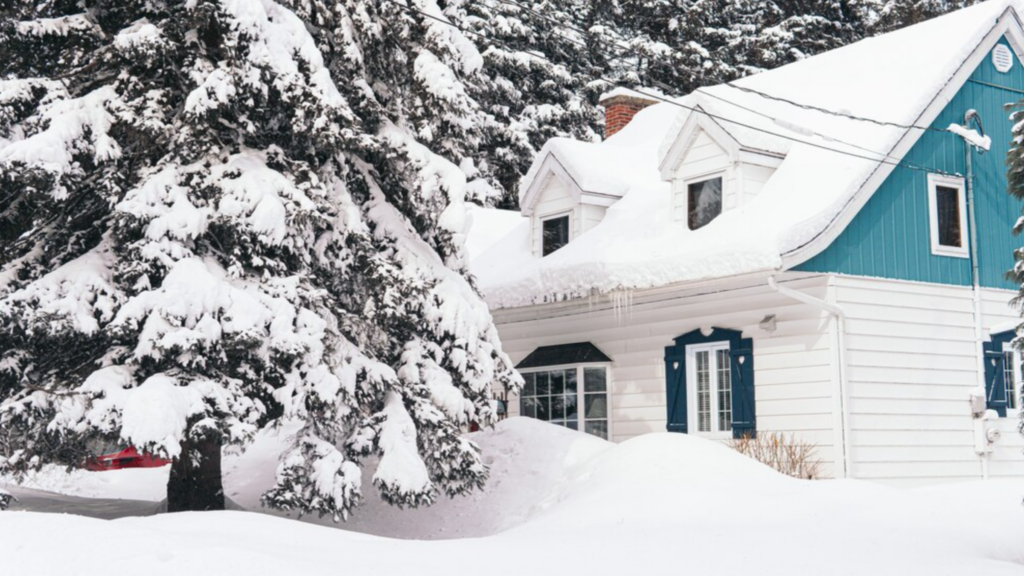
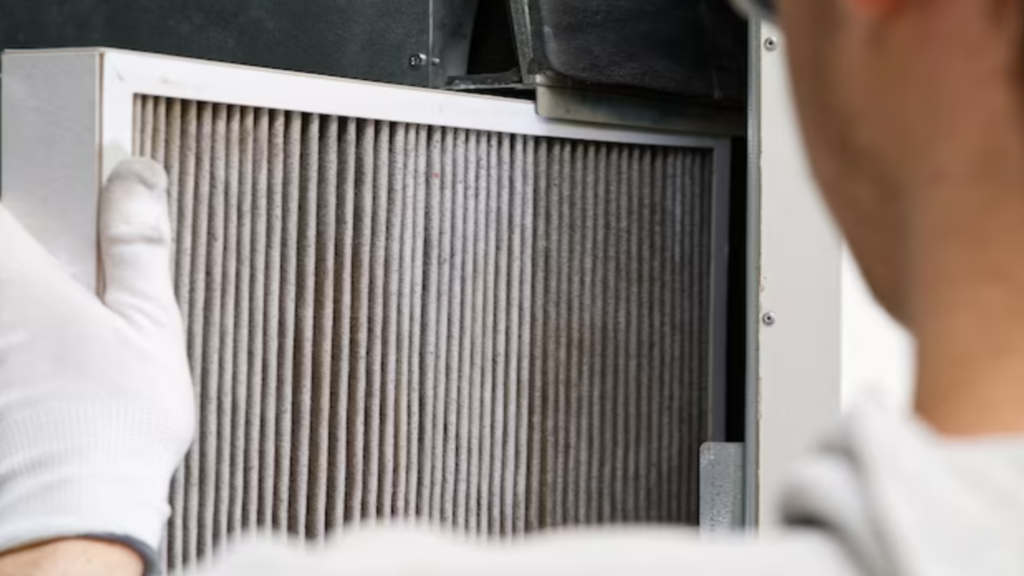


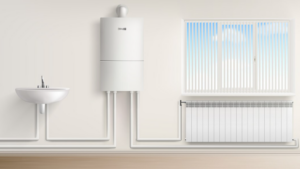
Furnace Maintenance Tips for the Winter
Prepare for winter—ensure your furnace is set with key maintenance tips: filter changes, thermostat inspections, and regular checks.
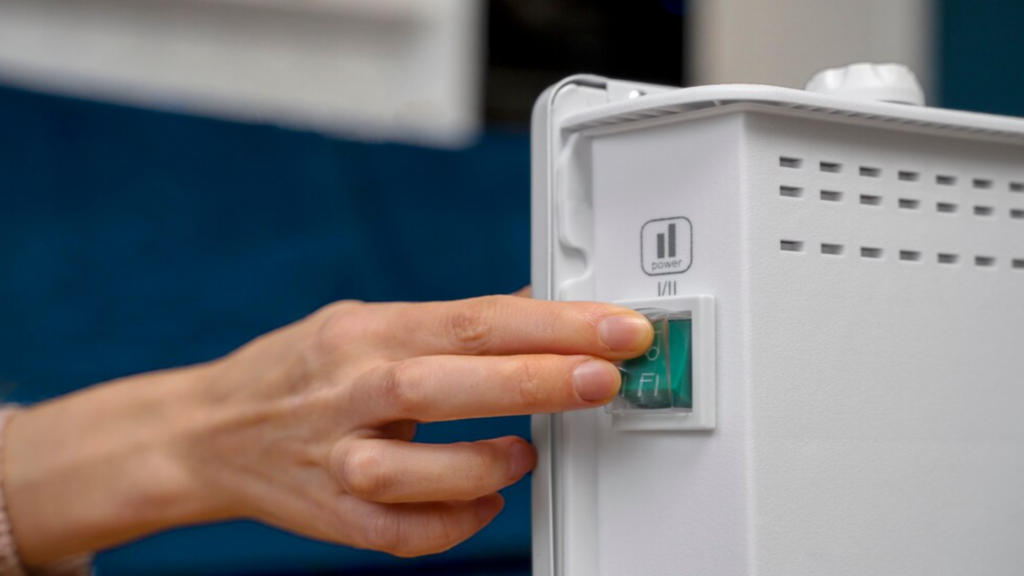
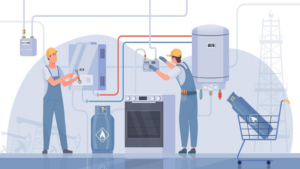
Heat Pump Water Heaters: Your Complete 2024 Guide
Considering a heat pump water heater in 2024? Our guide details operation, benefits, top brands, costs, sizing, and upkeep tips.
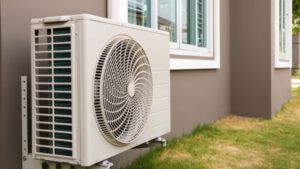
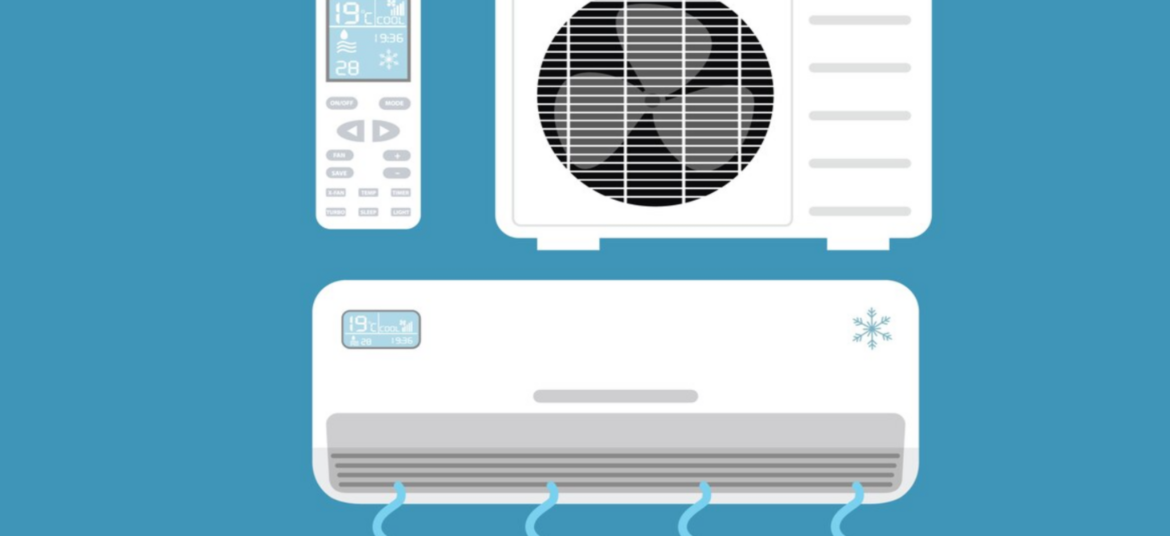
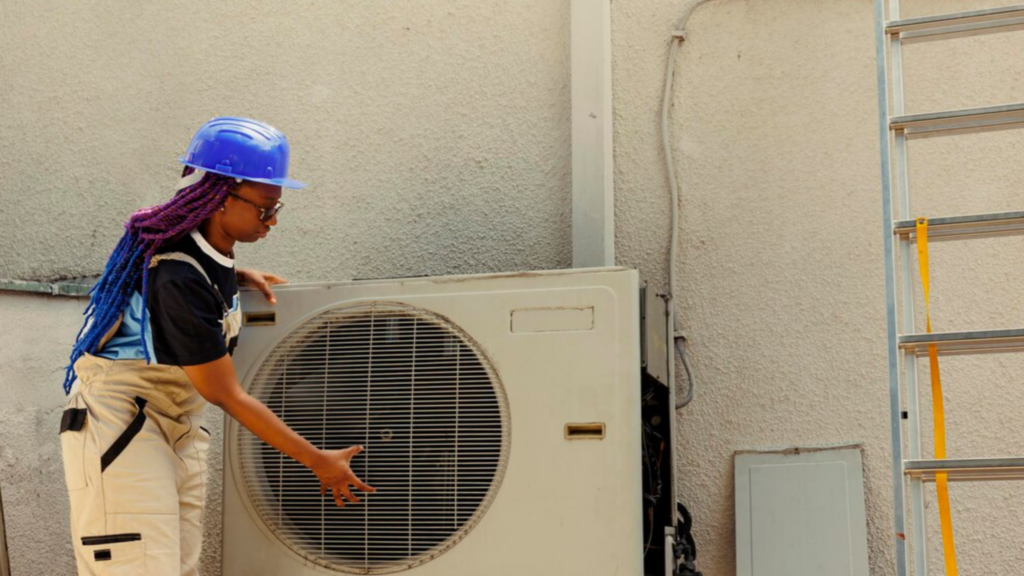
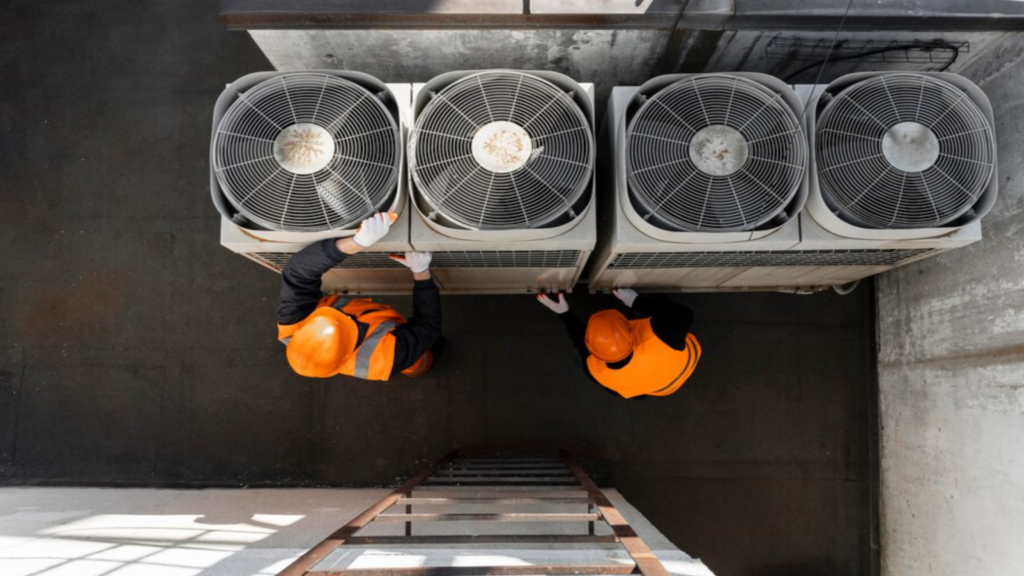
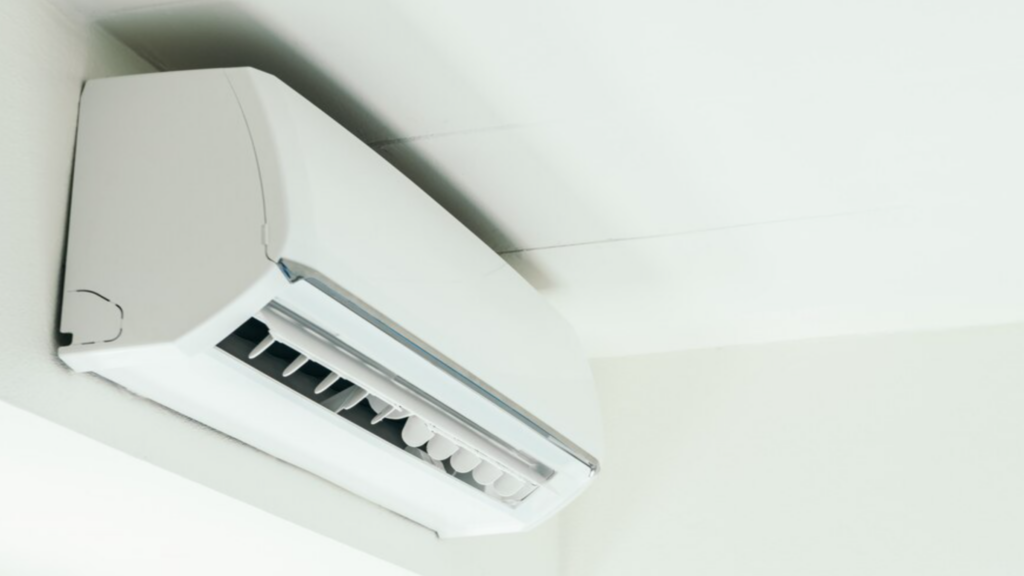
How Heat Pumps Can Improve Energy Efficiency
Heat pumps are an energy efficient way to heat and cool your home. Learn more about this versatile tool and how it can help you along your sustainability journey.

No Comments