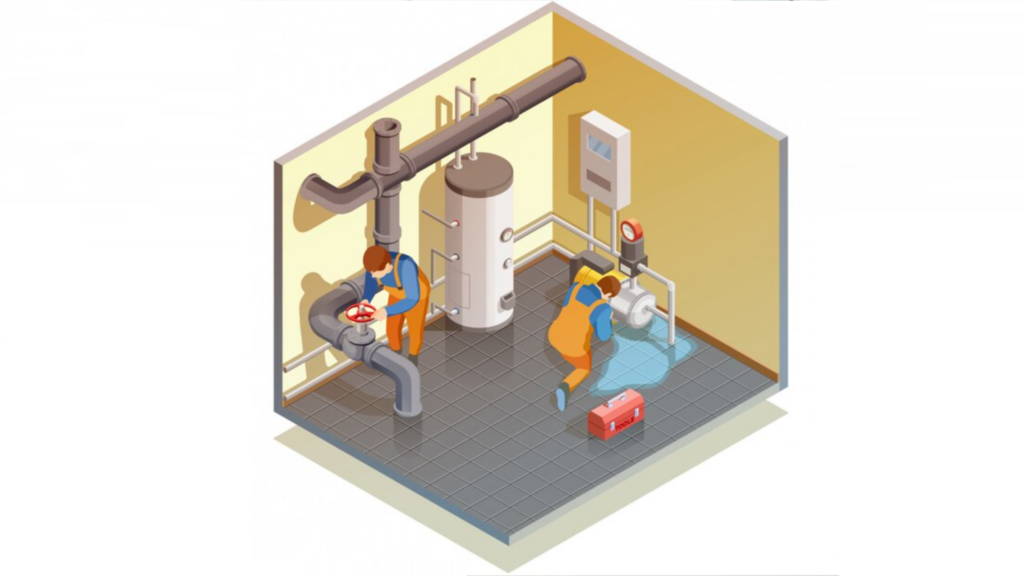
Proper maintenance of your water heater is essential for ensuring it operates efficiently, safely, and reliably. While it’s easy to ignore your water heater since it’s often tucked away in a closet or basement, taking the time to perform routine maintenance provides many important benefits.
Simple Maintenance Can have Major Benefits
Well-maintained water heaters use less energy and last longer, saving you money on utility bills and replacement costs. Catching and resolving minor problems early prevents more expensive repairs down the road.
Checking for leaks, monitoring combustion, and inspecting parts like valves and anodes reduces the risk of serious issues like gas leaks, fires, or explosions. Proper maintenance gives you peace of mind knowing your system is secure.
Simple maintenance like flushing the tank improves heating efficiency by removing sediment buildup. Your hot water will heat faster, and you’ll never run out during showers.
The average water heater lasts 8-12 years, but routine maintenance can add years of life. Replacing just the anode rod or other components is cheaper than buying a whole new system.
Doing basic water heater maintenance doesn’t take much time or effort but yields big rewards. The small upfront investment of time helps your heater operate safely and efficiently for years to come.
1. Check Water Pressure
Proper water pressure is important for your water heater to operate efficiently and safely. The ideal water pressure range for a water heater is between 50-60 PSI (pounds per square inch).
You can check your home’s water pressure by installing a pressure gauge on your main water supply line. Make sure no water is running in the home when you take the reading. If the pressure is consistently above 80 PSI, you should install a pressure reducing valve. This helps regulate the pressure and prevent damage to the water heater and supply lines.
Consistently low pressure below 40 PSI can also cause problems. Low pressure may result in the water heater not firing up properly or reduced hot water flow. Check for obstructions or kinks in supply lines if you have persistently low pressure. Installing a booster pump may help in some cases.
Monitoring and maintaining proper water pressure keeps your water heater working optimally. Check it annually along with other maintenance tasks.
2. Flush The Water Heat Tank
Sediment buildup is a common problem in water heaters that can reduce efficiency and lead to corrosion. Over time, minerals from the water supply can form deposits and scale on the bottom of the tank. Flushing the water heater tank helps remove these sediment deposits.
It’s recommended to flush a water heater once a year to prolong its life. Some signs it’s time to flush are reduced hot water flow, discolored water, rattling noises, or corrosion. Flush sediment by attaching a hose to the drain valve and opening the pressure relief valve to allow air in. Drain the tank completely until the water runs clear.
For heavy sediment, a flushing agent can help dissolve deposits. After draining, close valves and refill the tank. Flushing once a year helps remove sediment before major buildup can cause tank failure.
3. Inspect Anodes
Anodes are sacrificial metal rods inside the tank that help prevent corrosion. They attract corrosion to themselves, rather than allowing the metal tank to corrode. Over time, the anode rod will become corroded and need replacing.
To inspect an anode rod, you’ll need to shut off the power and water supply to the water heater. Then open the drain valve and drain a few gallons of water from the tank so the level is below the anode rod. Remove the rod by unscrewing it with a socket wrench. Inspect the rod to see how corroded it is. If it’s more than 6 months old or 50% worn away, it’s time to replace it.
Replacing the anode rod about every 4-5 years will greatly extend the life of your water heater. Use a pipe thread sealant on the threads when installing a new anode rod. Make sure it’s screwed in tightly. Then close the drain valve and turn the power and water supply back on.
4. Clean The Burners
The burners heat the water inside the tank and play a crucial role in your water heater’s operation. Over time, burner ports can become clogged with mineral deposits, dust, or debris. This restricts proper gas flow and can lead to the burners operating inefficiently or failing to ignite.
To maintain optimal performance, inspect the burners annually. First, turn off the gas supply to the water heater. Then remove the outer door and inner burner assembly. Examine the burner ports and use a soft brush or compressed air to gently clean away any debris. Be careful not to damage the burner components.
Also check that the gas valve, thermocouple, pilot light, and igniter are all in good working order. Replace any worn or faulty parts. Proper burner maintenance helps ensure steady, reliable heating of the water in your tank. Your water heater will operate more efficiently, last longer, and reduce energy costs.
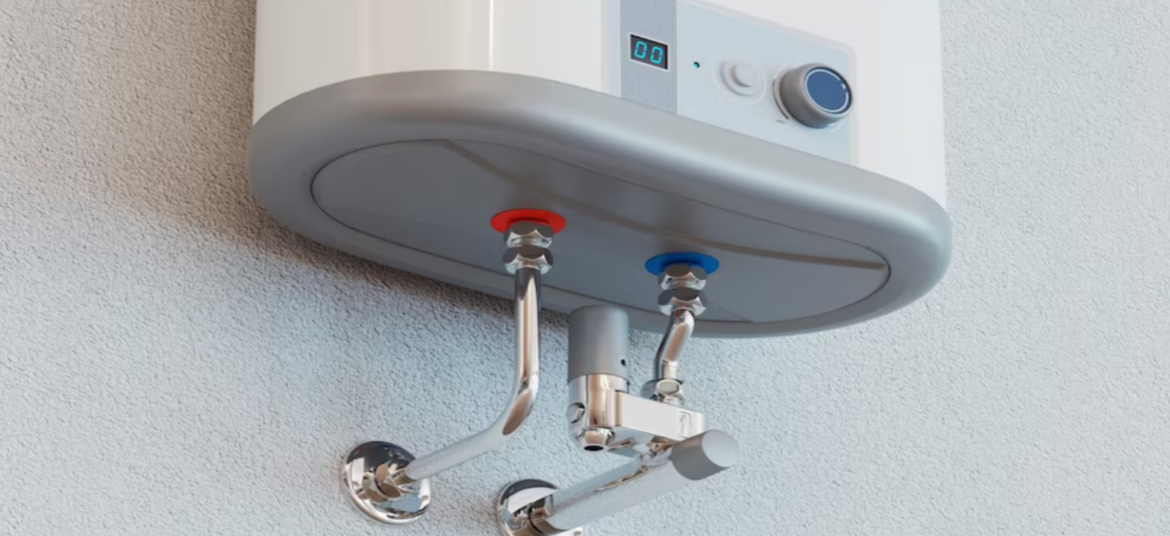
5. Check Valves And Pipes
The cold-water inlet and hot water outlet pipes connect your water heater to the main water supply lines in your home. It’s important to inspect these pipes regularly for any signs of leaks, corrosion, or damage.
Check where the pipes connect to the water heater for drips or rust spots. Dripping often indicates a loose connection or worn gasket that needs to be tightened or replaced.
Look along the length of the pipes for moisture, discoloration, or cracks. Small leaks from worn pipes can waste a lot of water over time. Replace any pipes that show signs of rust or damage.
Turn on a hot water faucet and inspect the pipes again while water is flowing. Listen for hissing noises that may indicate escaping water. Look for wet spots forming on pipes or fittings.
Check pipe brackets and hangers. Corrosion or loose connections can cause pipes to sag, putting extra stress on fittings. Tighten or replace brackets as needed.
Consider replacing old, galvanized steel pipes with copper, PEX, or CPVC. Newer types of pipes last longer and resist corrosion.
Insulate hot water pipes to reduce heat loss and waste energy. This will keep your water hotter as it travels from the heater to faucets.
Regularly inspecting valves and pipes can help prevent leaks and keep your hot water system working efficiently for years.
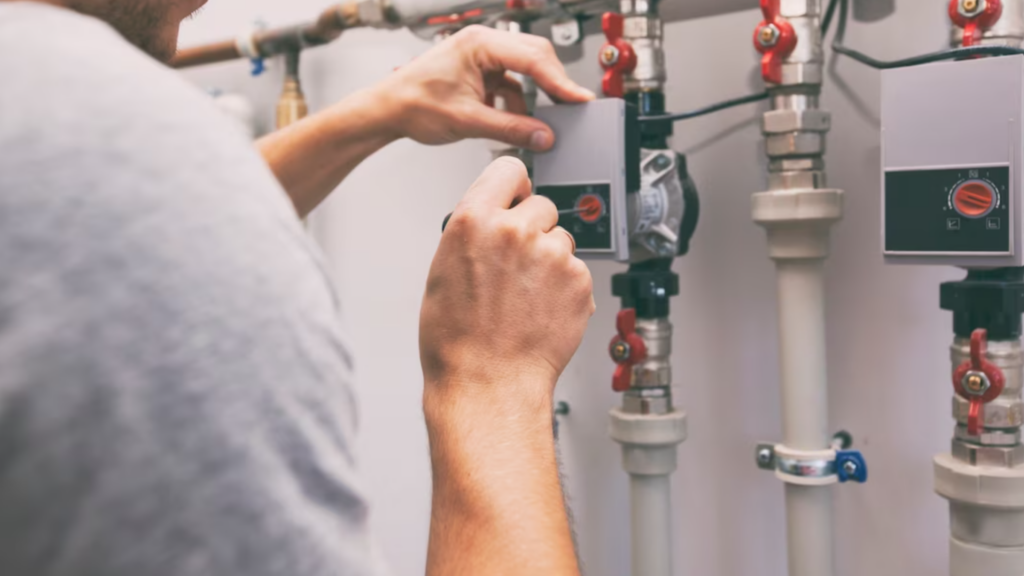
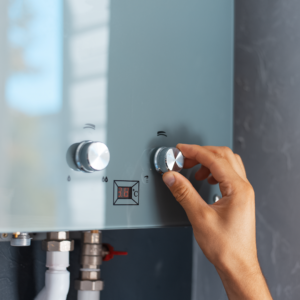
6. Check Controls And Settings
One of the most important maintenance tasks for your water heater is making sure the controls and settings are properly adjusted.
The temperature setting on your water heater’s thermostat controls the temperature of the hot water in your home. Most manufacturers recommend setting your thermostat between 120°F and 140°F. Lower temperature settings around 120°F can help prevent scalding accidents and may save energy by reducing standby heat losses.
You should periodically check that your thermostat is still accurately controlling your water temperature. Let the water heater run for 15 minutes and then check the temperature at a faucet far from the heater. Adjust the thermostat up or down as needed until the temperature at the faucet matches your desired setting. Contact a technician if you’re unable to get an accurate temperature after adjusting the thermostat.
Also inspect the thermostat itself while adjusting. Make sure the dial moves properly and the thermostat glass vial and probe are intact. Replace any damaged thermostats. A faulty thermostat can lead to wasted energy and potentially dangerous temperatures.
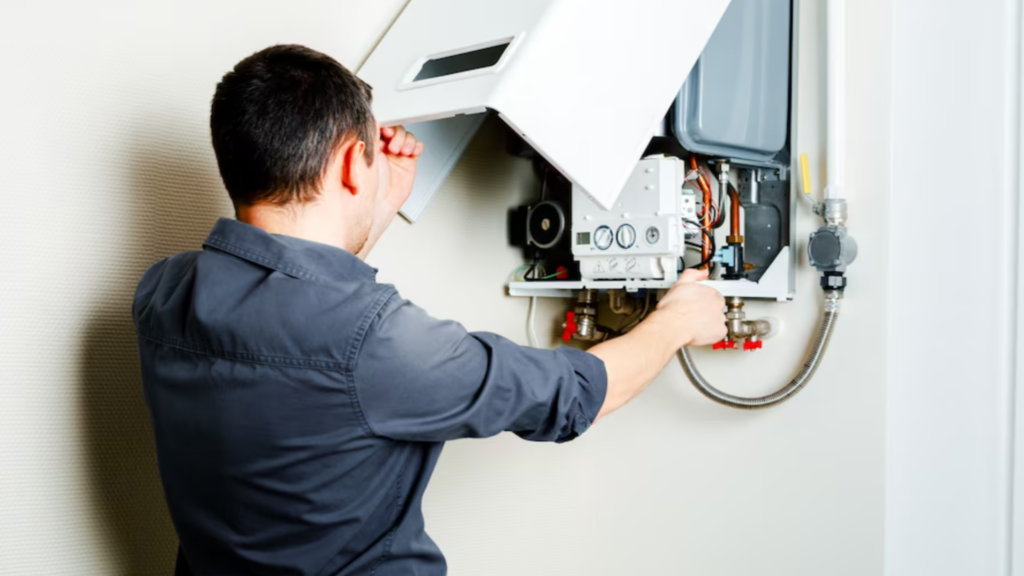
7. Inspect Water Heater’s Combustion Chamber
The combustion chamber is where the burner flame heats the water inside the tank. It’s important to periodically inspect the combustion chamber and burner flames to ensure proper operation.
To inspect the combustion chamber:
- Turn off the power to the water heater and allow it to fully cool if it was recently operating. The metal components get extremely hot and can cause burns.
- Remove the outer cover panel to access the combustion chamber. Be sure not to damage any gaskets or seals in the process.
- Examine the burner and make sure there is no scaling or debris buildup. Use a soft brush or vacuum to gently clean any dirt or dust.
- Check that the burner flames are blue in color and consistent in shape. Yellow, flickering flames can indicate a problem with combustion.
- Confirm that the flames are distributed evenly across the burner surface. Patchy flames suggest the burner needs cleaning or replacement.
- Check for any unusual sounds during combustion like hissing or popping noises. This may signify a gas leak or issue with gas flow.
- Make sure there are no signs of leaks, cracks, warping or damage to the combustion chamber itself.
- Replace any gaskets or seals that look worn or compromised.
- Securely replace the cover panel once the inspection is complete.
Regularly inspecting the combustion chamber and burner can help avoid efficiency and safety issues with your water heater. If any problems are detected, consult with a water heater technician for recommended repairs.
8. Check Insulation
Properly insulating your water heater is one of the best ways to maximize its energy efficiency. The insulation around the tank helps minimize standby heat loss, allowing your water heater to retain heat for longer periods of time. This means the heating elements don’t have to work as hard to keep the water hot.
Over time, the factory-installed insulation can settle or become damaged. It’s a good idea to periodically inspect the insulation for gaps or thinning. If it looks compromised, replacement insulation kits are available from hardware stores and home improvement centers. Make sure to get one specifically made for water heaters. These kits include insulation wraps to fit snugly around the tank. Proper installation is important to prevent heat loss and ensure energy savings.
Replacing worn or missing insulation can provide an immediate boost to your water heater’s efficiency and reduce energy costs. It’s one of the simplest maintenance tasks that pays off over the lifetime of your water heater.
Keep You Water Heater In Good Shape
Properly maintaining your water heater is important for ensuring you have hot water when you need it. Neglecting maintenance can lead to leaks, rust, sediment buildup and other issues that reduce efficiency and lead to early failure.
By periodically checking the water pressure, flushing the tank, replacing anodes, cleaning burners, inspecting pipes and valves, adjusting controls, cleaning the combustion chamber and checking the insulation, you can optimize performance and extend the life of your water heater.
If you want to learn more about water heater maintenance, contact one of the expert energy advisors at Provincial Smart Home Services and they will be able to answer any questions you may have.
Related Posts
Heat Pump Water Heaters: Your Complete 2024 Guide
Considering a heat pump water heater in 2024? Our guide details operation, benefits, top brands, costs, sizing, and upkeep tips.
7 Signs You Need a New Electric Water Heater this Winter
Learn how an electric water heater saves money and helps the environment. Know when to replace your old heater with a new energy-efficient electric model.
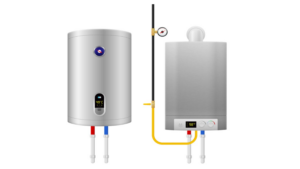
Switching to a Tankless Water Heater? Pros, Cons, Costs and More
Discover the benefits of switching to a tankless water heater to improve your home’s energy efficiency and sustainability.

No Comments