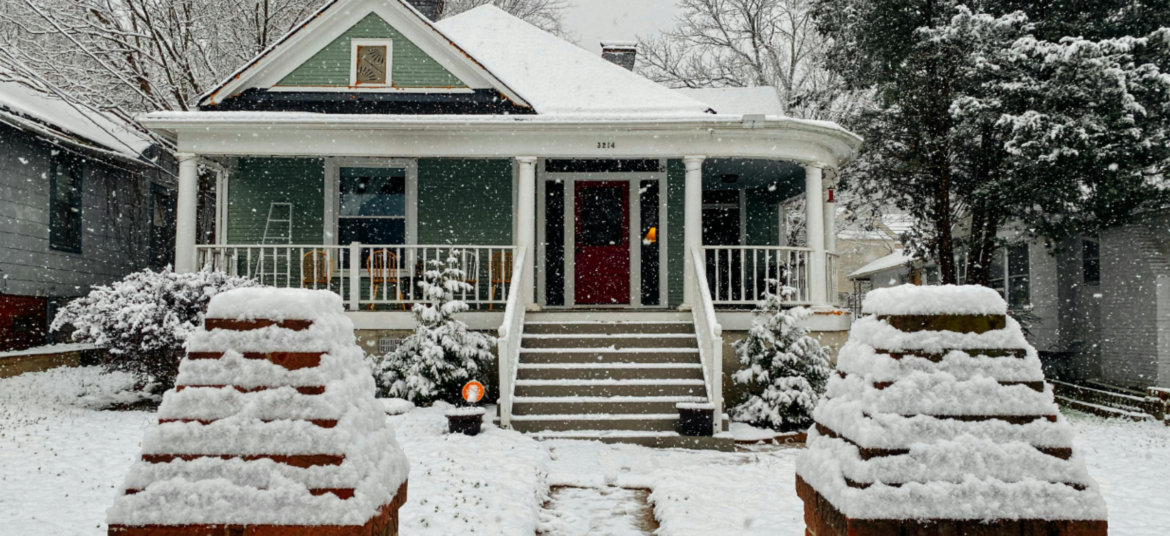

The Best Home Generators for this Winter
Stay warm this winter with top home generators. Reviews on Honda, Generac, Champion for outages—find your size & features.
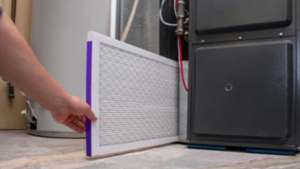
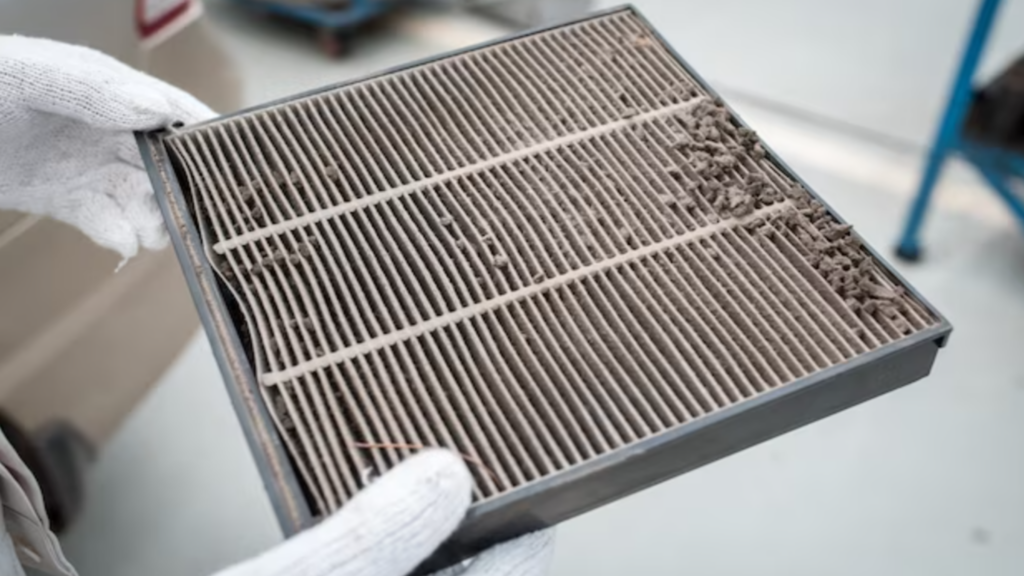
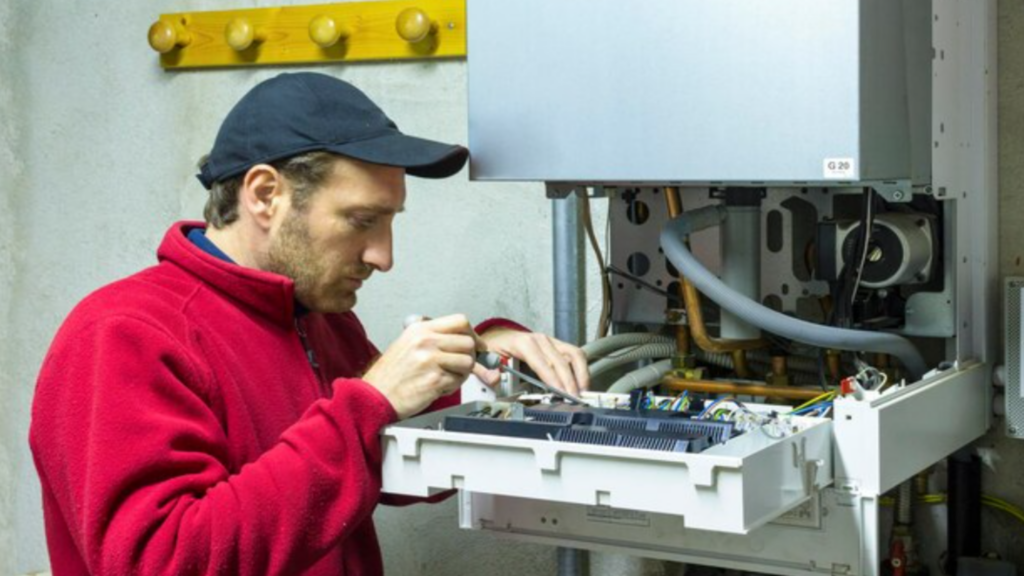
How Often Should You Change Your Furnace Filter?
We explore how frequently you need to change your furnace filter for peak performance and air quality, including signs for replacement and maintenance tips.
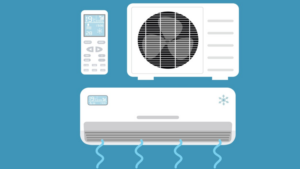
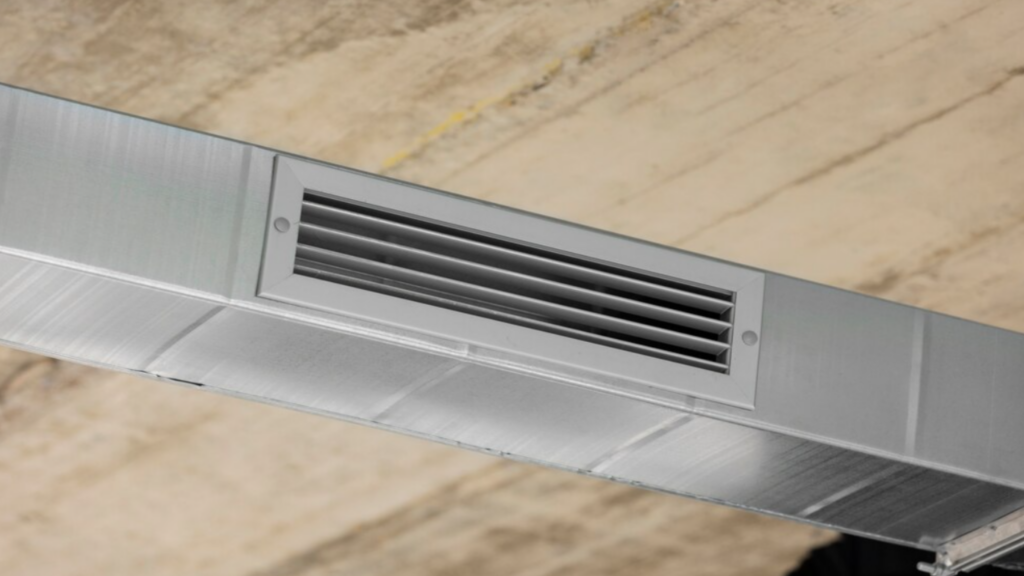
Why You Should Winterize Your AC Unit
Winterize your AC Unit: cover it, cut power, drain water. Get expert maintenance tips to extend your AC’s life so it can keep you cool.

No Comments